Navigating Diy Pool Maintenance: Your Guide To Replacing A Pool Robot
One essential component of your swimming pool that aids in maintaining its cleanliness is the pool skimmer. Over time, the skimmer may wear out or break, demanding a replacement. This article will elucidate the step-by-step process associated with replacing a pool skimmer, allowing you to enjoy a neat and clean pool.

The skimmer serves a crucial role in keeping your pool water pristine, collecting floating debris before it sinks, thus making it easier to maintain the pool. However, a faulty skimmer inhibits this function and may lead to your pool getting dirty faster. Knowing how to replace a pool skimmer is a valuable skill for any pool owner.
Here’s your step-by-step guide to replacing a pool skimmer:
Materials Needed:
- New Pool Skimmer
- Screwdriver
- Teflon Tape
- Pipe Wrench
Step 1: Drain the Pool:
Before you begin, ensure to lower the water level in your pool until it’s below the skimmer. This will prevent water from flowing out while you’re changing the skimmer.
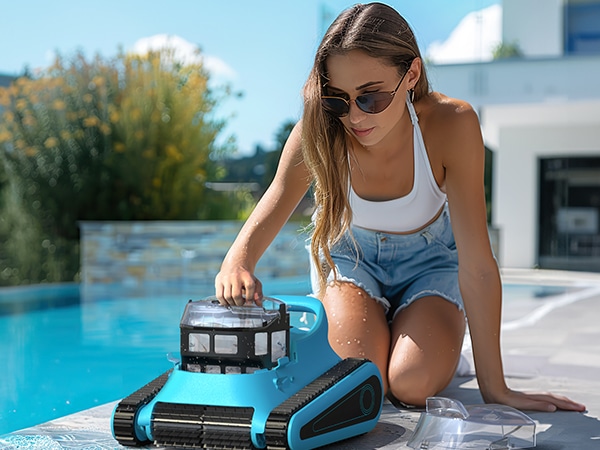
Step 2: Remove the Old pool vacuum cleaner robot:
Use a screwdriver to remove the screws securing the skimmer faceplate on the pool’s inside. The skimmer should now be free from the pool, ready for removal.
Step 3: Disconnect the Plumbing:
With the skimmer removed, the next step is to disconnect the plumbing. Usually, this involves unscrewing the hose or pipe that’s connected to the bottom of the skimmer.
Step 4: Prepare the Replacement robotic pool sweep:
Before installing the new skimmer, wrap Teflon tape around the threads of the skimmer port. This will create a watertight seal when you attach the plumbing.
Step 5: Install the New Skimmer:
Now, align the new skimmer with the opening in the pool wall, ensuring the holes in the skimmer basket line up with the holes in the pool wall.
Step 6: Secure the Skimmer:
With the skimmer correctly positioned, use a screwdriver to secure the skimmer basket to the pool wall. Make sure to apply steady pressure to prevent the skimmer from moving out of alignment.
Step 7: Reconnect the Plumbing:
Once the skimmer is secured, you can reattach the plumbing. Screw the hose or pipe back onto the skimmer port, making sure it’s tight.
Step 8: Confirm the Installation:
With the skimmer installed and plumbing reconnected, refill the pool to the normal water level. Look for signs of leaking around the new inground pool cleaner robot. If water is seeping out, this could mean the skimmer isn’t tight enough, and some screws may need further tightening.
Step 9: Get Your Pool Up and Running:
Lastly, switch on your pool pump and ensure that water is flowing correctly through the new skimmer. If everything is working as expected, then well done – you’ve successfully replaced your pool skimmer!
In conclusion
Replacing a pool skimmer may seem daunting, but with some time and the right tools, it’s a task you can complete on your own. Regular maintenance and timely replacements of pool parts such as the skimmer will ensure your pool remains a fun and clean place for you and your family.
Prime Day OFF
Until the End


-
Master Of Cleanliness: Visual Guide To Recognizing And Understanding Your Electric Pool Cleaners
-
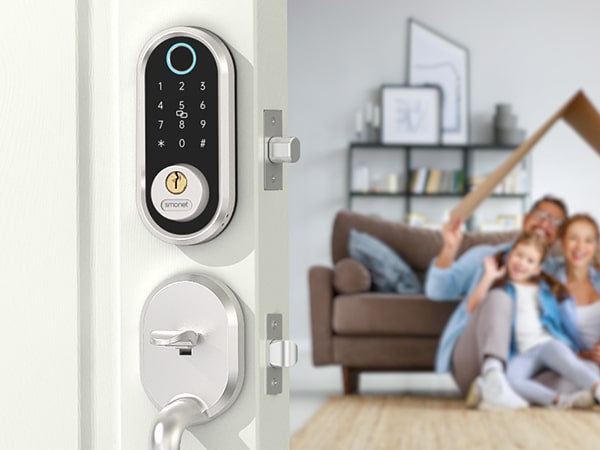
Making the Right Choice for A Best Keypad Door Lock: A Guide Based on Material Consideration
-
The 7 Most Common Types of Locks for Home and Office Security
-
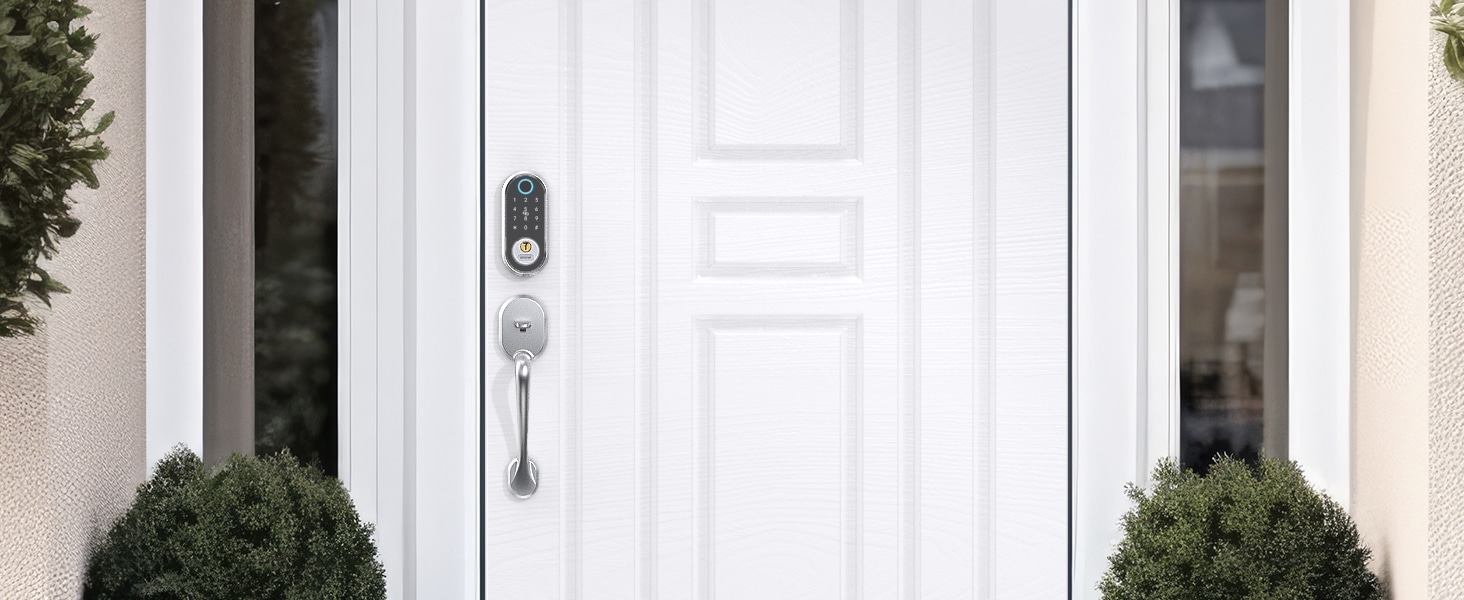
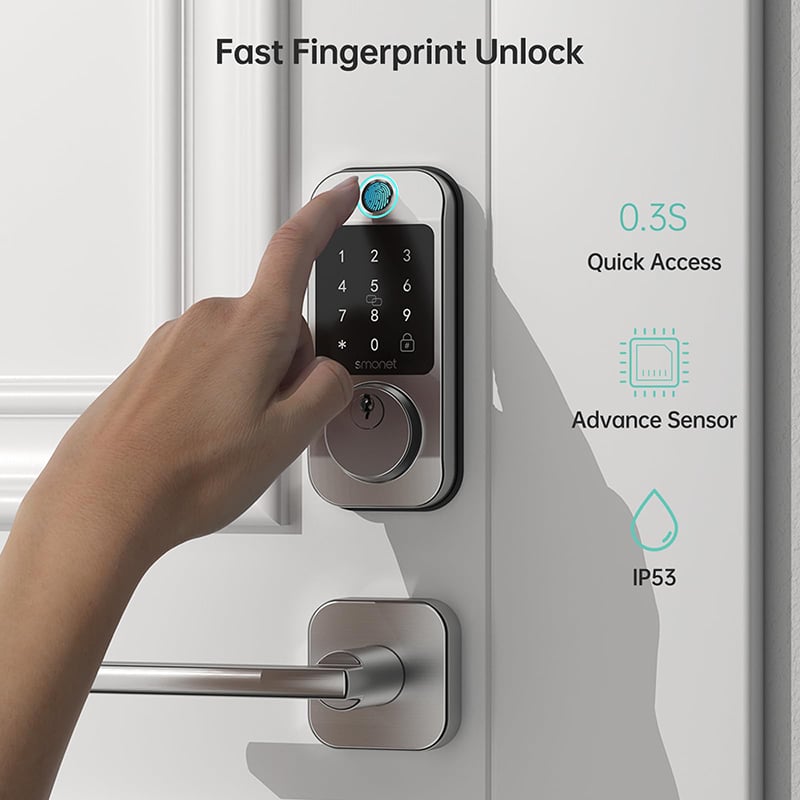
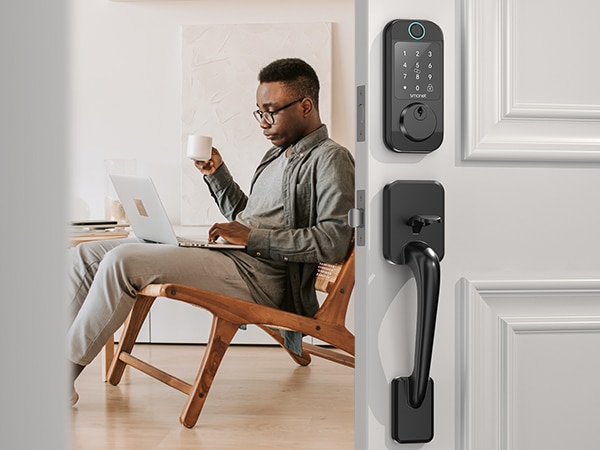
Door Knob With Fingerprint Identification- The Future Of Home Security
-
Selecting the Ideal Digital Door Lock Style and Color for Your Abode
-
Evolution Of Security- Smart Door Key Lock
-
Mailbox Digital Lock- Reinventing Mail Security In The Digital Age
-
Exploring Alternative Unlocking Solutions - Smart Lock Fingerprint Cards and Wristbands
-
Touch Id Door Locks- Next-Generation Security At Your Fingertips
-
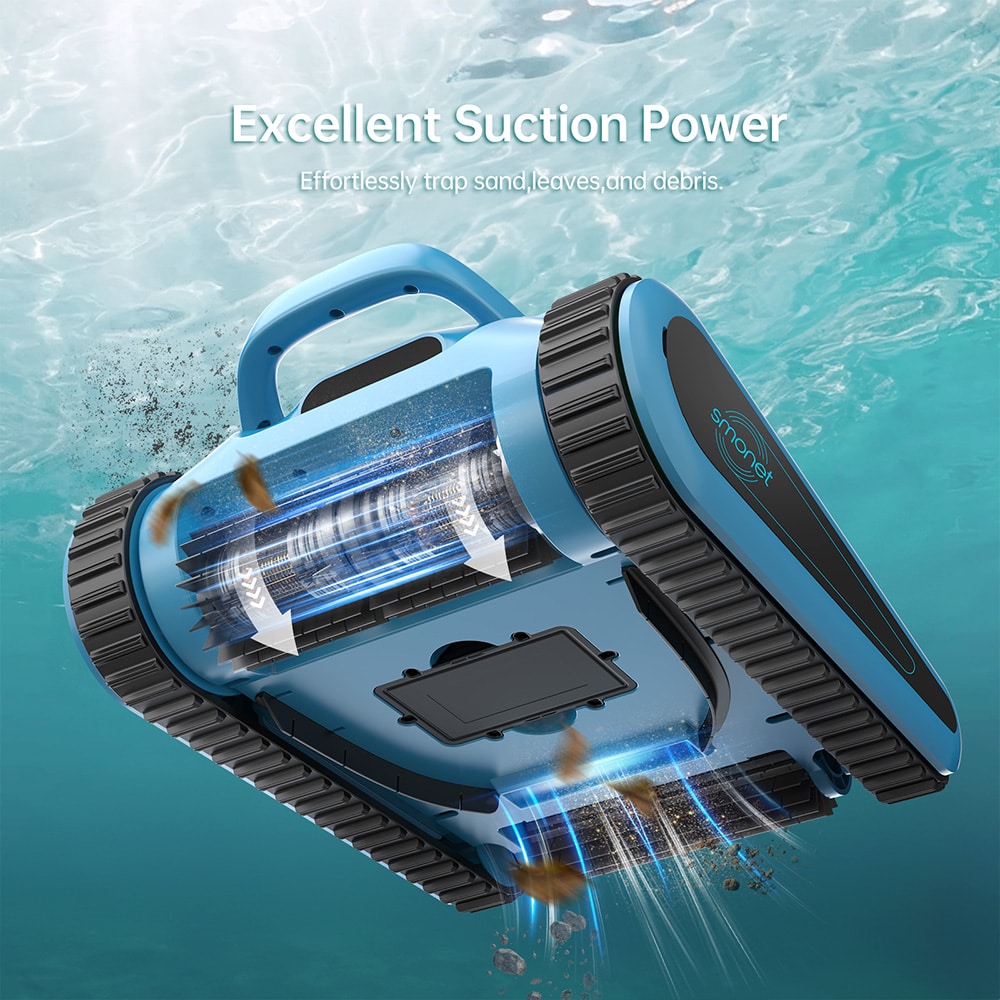
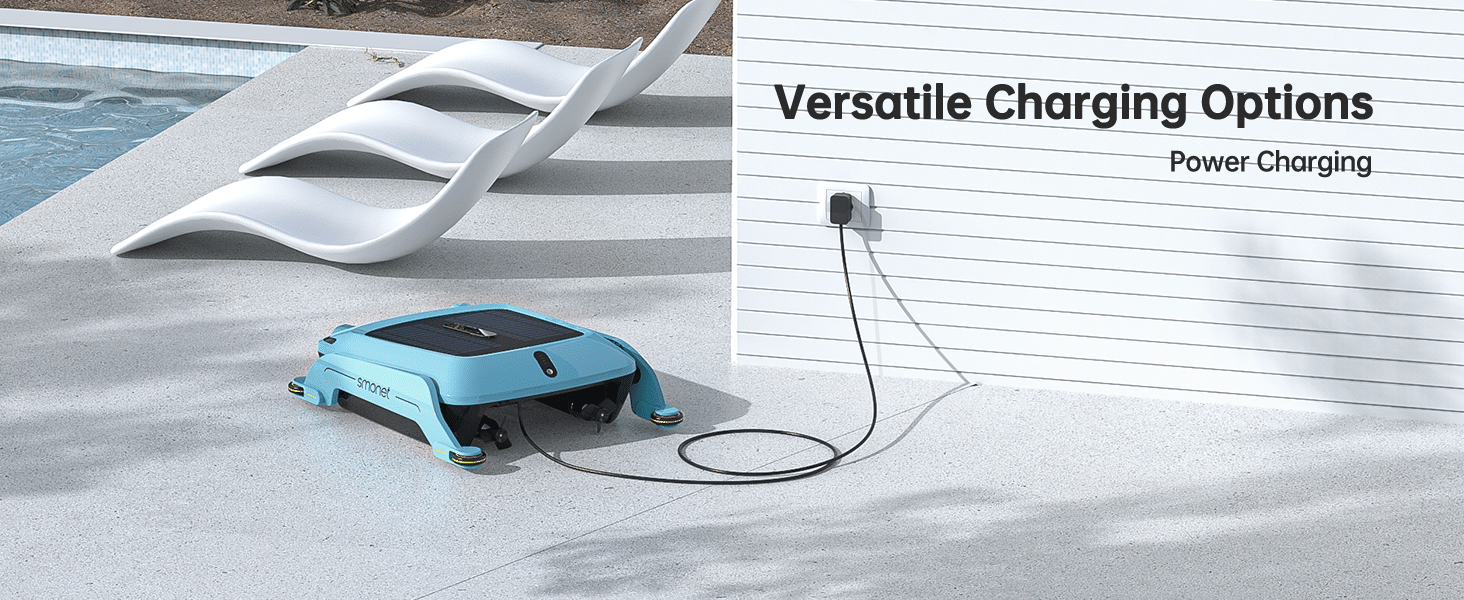
Why Smonet Tops The Best Cordless Pool Vacuum List