Setting A Temporary Password For An Electronic Front Door Lock
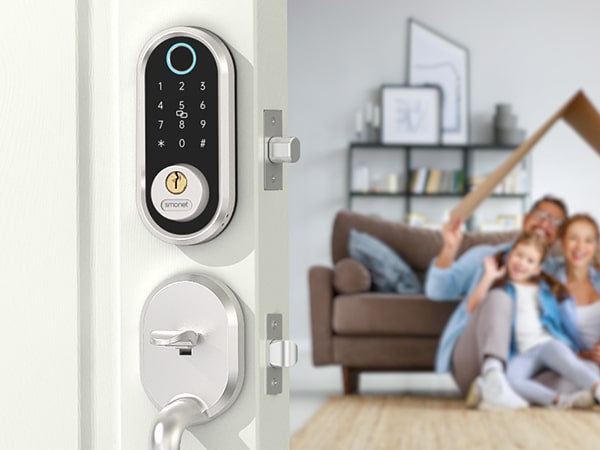
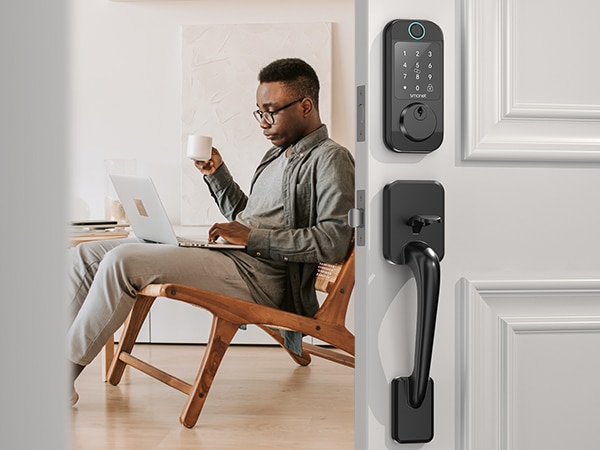
Electronic front door locks are specifically engineered to provide homeowners with the utmost convenience and enhanced security. One highly sought-after feature of these locks is the ability to set a temporary password, allowing for flexible access control. This function proves to be incredibly useful in scenarios such as hosting guests, facilitating visits from service professionals for maintenance, or in the event of a lost key. This comprehensive article will provide you with detailed guidance on the step-by-step process of setting a temporary password for your biometric front door lock, ensuring that you can make the most of this valuable feature.
To enhance security and convenience, you can easily set a temporary password for your front door by following these straightforward steps. This feature allows you to grant temporary access to your home or office without needing to share your permanent password. Whether you have guests visiting, workers needing access for repairs, or service providers stopping by, setting a temporary password makes the process simple and efficient. By utilizing this capability, you can truly maximize the benefits of your electronic front door lock, ensuring both safety and ease of use for everyone who needs access.
Step 1: Access to keyless front door deadbolt lock system menu
To start, you will need to access the system menu of your keyless front door deadbolt lock. This process can vary greatly depending on the specific make and model of your lock, so it’s important to consult the user manual for any detailed instructions.
Typically, you can access the system menu in one of two ways:
- Using the Keypad: Most keyless locks have a keypad where you can enter a master code. This code is often set by the manufacturer or can be personalized during the initial setup. Once you enter the correct master code, the lock will grant you access to the system menu where you can manage settings such as adding or removing user codes, changing the master code, or adjusting other lock features.
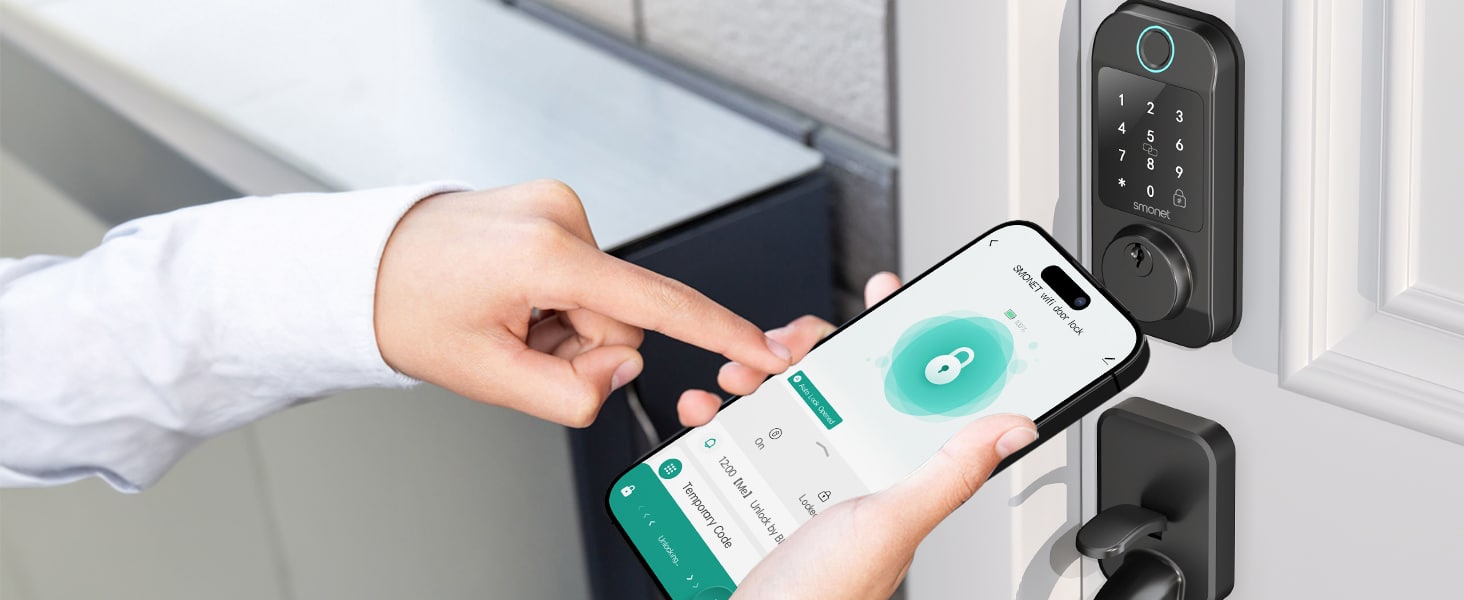
- Using a Smartphone App: Many modern keyless locks come with a corresponding smartphone app that pairs with the lock via Bluetooth or WiFi. To access the system settings through this app, ensure that your phone is connected to the lock. Open the app, navigate to the settings or configuration section, and you should be able to manage various features of the lock, just as you would with the keypad.
Before proceeding, ensure that you have the necessary information, such as the master code or the app installed, to successfully navigate the system menu of your keyless lock.
Step 2: Navigate to Temporary Password Setup in the front door lock App
After you have launched the front door lock app and accessed the main menu, take a moment to look for the specific section dedicated to managing lock codes. This area is essential for adjusting who has access to your lock. You may find it labeled as ‘Manage Codes’, ‘Temporary Password’, ‘Guest Codes’, or another similar title. Once you’ve located this section, you will be able to create, edit, or delete various codes, ensuring that you can easily control access for yourself, guests, or temporary visitors.
Step 3: Set up the Temporary Password
After you have successfully navigated to the relevant section within the system, you can begin the process of creating a new temporary password. At this stage, you will likely receive a prompt asking you to enter a unique password code. It is crucial to take your time to select a code that is not only unique but also has not been previously utilized as either a permanent or temporary password. This helps maintain the security of your account. Ensure that your new password code meets any specified criteria, such as a minimum length or inclusion of special characters, to enhance its strength and effectiveness. Once you have entered and confirmed your new password code, be sure to store it securely for future reference.
Step 4: Confirm and Save
After you enter the temporary password, please confirm it by re-entering the same password in the designated field for verification. Once you have entered the password again, proceed to save your changes. After completing these steps, the system will verify the setup process. Once confirmed, your temporary password will be successfully established and will be ready for use. Be sure to remember or store this password securely for your future logins.
Step 5: Share front lock the Temporary Password
Now that you’ve successfully set a front lock temporary password, you can share this with your guest or service professional. Remember to clarify to them that this password is temporary and is to be used only within the agreed timeframe.
Step 6: Removing or Changing keyless front door knob the Temporary Password
After using the keyless front door knob app system, it is important to remove the temporary password to maintain security. In case the same guests plan to visit again or if professionals need to make multiple visits, it is advisable to generate a new temporary password to ensure the safety of your premises.
Please keep in mind that the precise steps for operating your electronic lock may differ based on the manufacturer and model. For accurate instructions, it is advisable to refer to the user manual or reach out to the customer service department of the electronic lock’s specific brand.
Prime Day OFF
Until the End
-
Master Of Cleanliness: Visual Guide To Recognizing And Understanding Your Electric Pool Cleaners
-
Making the Right Choice for A Best Keypad Door Lock: A Guide Based on Material Consideration
-
The 7 Most Common Types of Locks for Home and Office Security
-
Door Knob With Fingerprint Identification- The Future Of Home Security
-
Selecting the Ideal Digital Door Lock Style and Color for Your Abode
-
Evolution Of Security- Smart Door Key Lock
-
Mailbox Digital Lock- Reinventing Mail Security In The Digital Age
-
Exploring Alternative Unlocking Solutions - Smart Lock Fingerprint Cards and Wristbands
-
Touch Id Door Locks- Next-Generation Security At Your Fingertips
-
Smonet Home Door Lock- The Future Of Home Security


