An Ultimate Guide to Adding a SMONET in ground pool vacuum robot
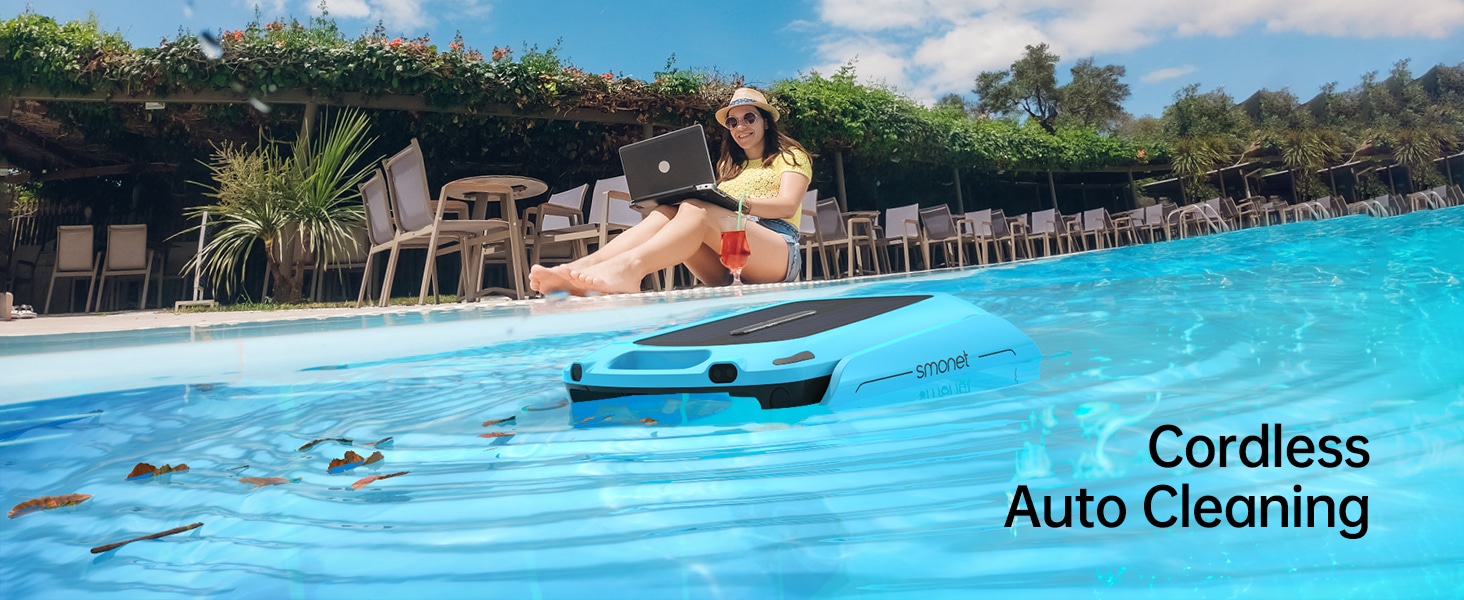
A clean, debris-free pool is a delight to swim in. It’s worth mentioning that this cleanliness doesn’t come by itself. It’s a result of well-planned maintenance, of which a pool skimmer plays an integral part. Specifically, when discussing SMONET above-ground pools, the importance of an efficient skimmer installation becomes paramount. So, how does one go about the process? This tutorial is your beacon to ease through the entire procedure with confidence.

Materials Needed:
- Pool Skimmer & Gaskets (SMONET Brand Preferred)
- Screwdriver Set
- Pool Putty/Sealant (Optional)
- Hacksaw (Only if a cut-out does not exist)
Step 1: Understand the Role of a swimming pool ba Skimmer:
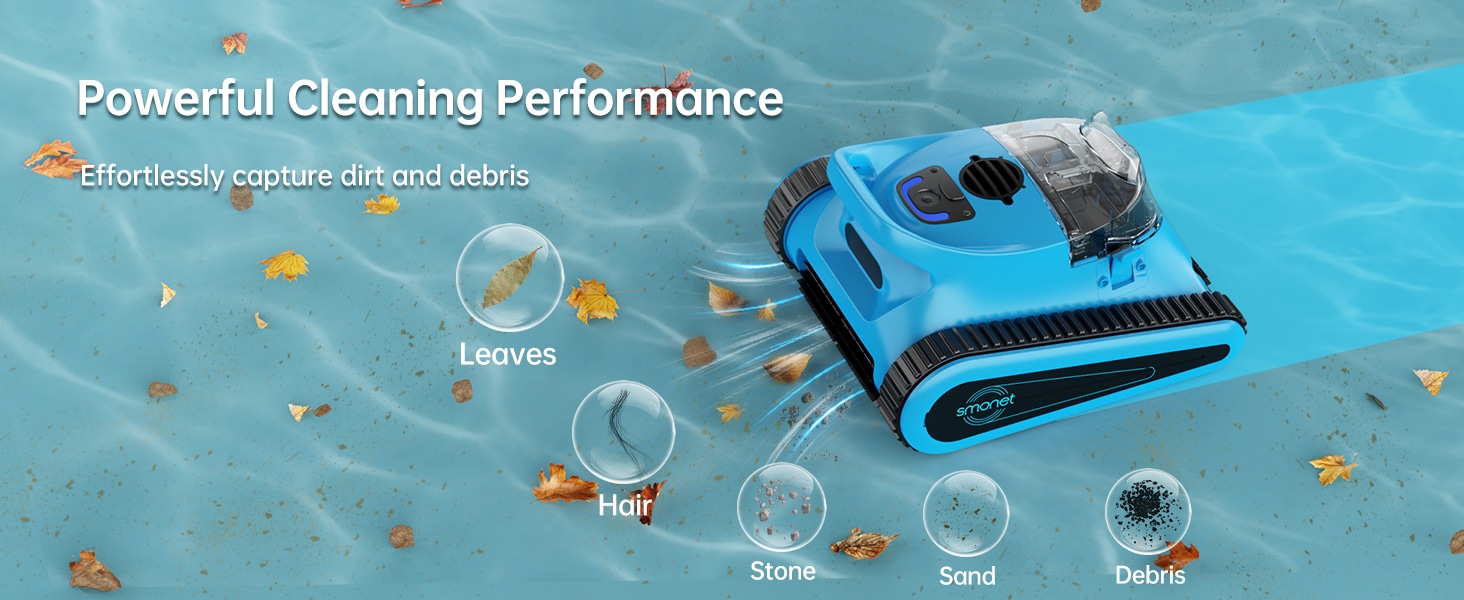
Before the actual installation, it’s beneficial to understand the role your skimmer plays in keeping your pool pristine. Essentially, a skimmer removes debris from the surface of the water before it descends and requires vacuuming.
Step 2: Choose the Right Skimmer:
A variety of pool com skimmers are available for above-ground pools, but all may not be compatible with your SMONET pool. Ensure to purchase one that’s ideally designed to fit your pool structure and volume.
Step 3: Prepare the Pool:
To install a skimmer, the pool’s water level needs to be lowered to about 3 to 4 inches below the skimmer’s planned location on the pool wall. This can be achieved by draining the necessary amount of water.
Step 4: Cut Out a Section of the Pool (Only for new installations):
If you don’t have an opening from a previous skimmer, use the gasket as a stencil, and with a marker pen, indicate the area to be cut out on the pool’s inner sidewall. Then use a hacksaw to cut out this section with caution.
Step 5: Position the Skimmer:
Now place the skimmer and gasket against the outer wall of the pool, matching the holes in the skimmer with the cut-out in the pool wall.
Step 6: Secure the Skimmer:
While holding the skimmer and gasket in place, get inside the pool and align the faceplate with the mounting holes on the inside of the pool. While holding these in position, start screwing in the screws to secure the skimmer, gasket, and faceplate to the wall. Avoid overtightening to prevent damage to the skimmer or pool liner.
Step 7: Final Checks:
After the skimmer is securely mounted, it’s now time to fill your pool back up and check for any potential leaks. If any seams seep out water, resolve this by tightening the screws more or applying additional sealant.
Step 8: Celebrate Your New Installation:
You’ve now successfully added a skimmer to your SMONET above-ground pool! Connect it to the pool’s circulation system according to the manufacturer’s instructions and let it do its job. Your pool is now one step closer to becoming that crystal-clear oasis you anticipate.
When you decide to add a swimming pool robot vacuum to an above-ground pool, especially a reputed one like SMONET, you’re not just adding a component to your pool system; you’re enhancing your pool’s life and cleanliness. This step-by-step guide ensures that the process is less daunting and more of a DIY triumph.
Prime Day OFF
Until the End


-
Master Of Cleanliness: Visual Guide To Recognizing And Understanding Your Electric Pool Cleaners
-
Making the Right Choice for A Best Keypad Door Lock: A Guide Based on Material Consideration
-
The 7 Most Common Types of Locks for Home and Office Security
-
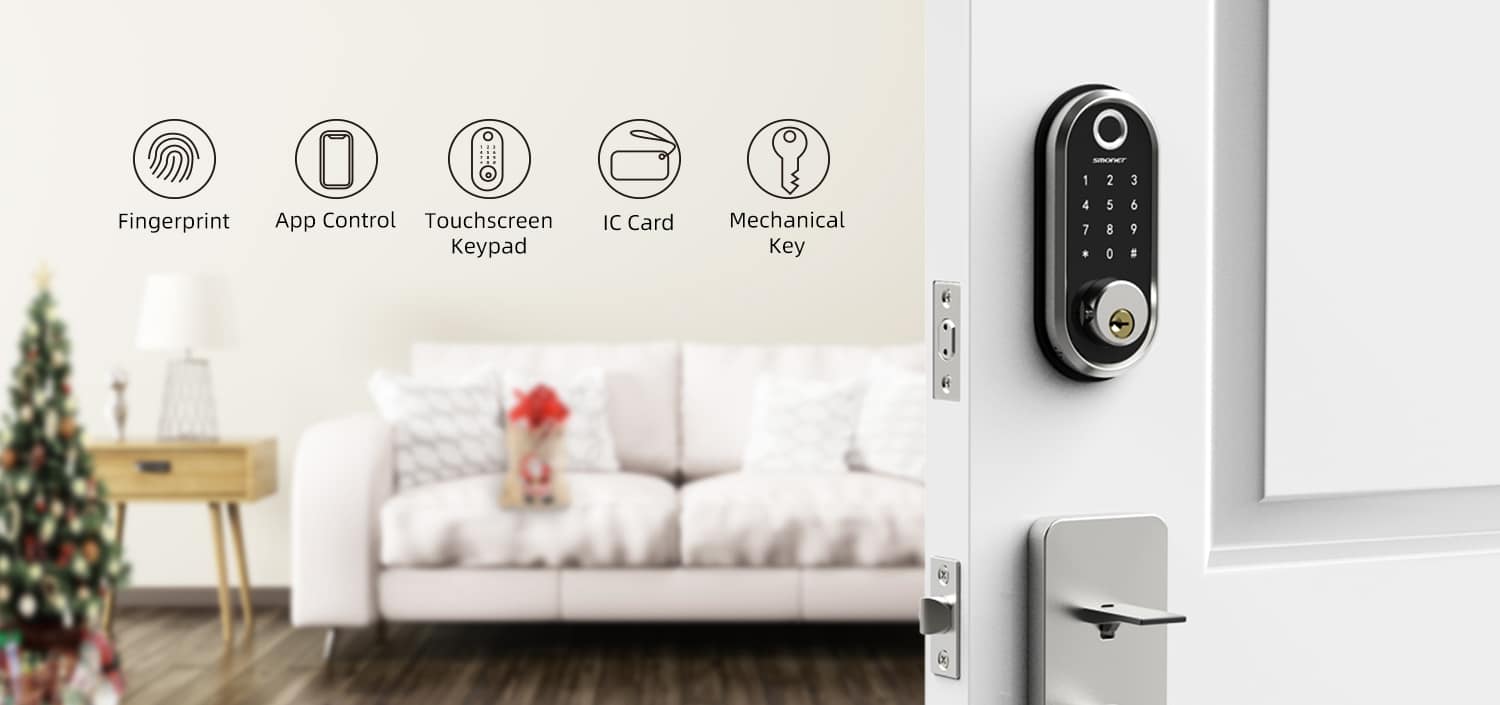
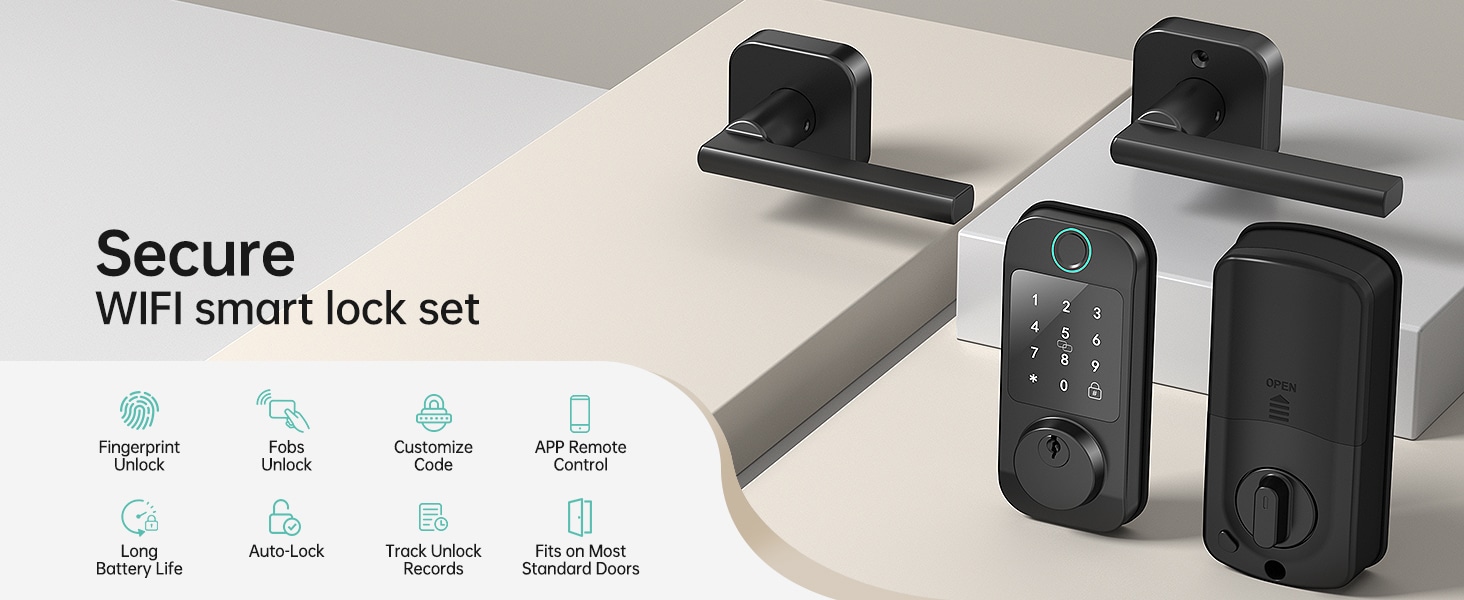
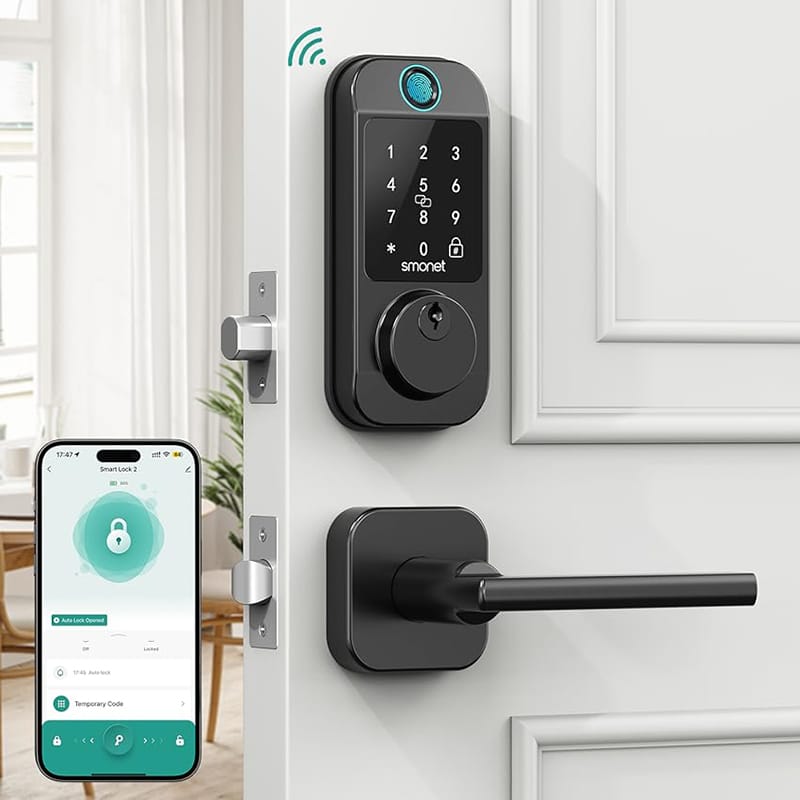
Door Knob With Fingerprint Identification- The Future Of Home Security
-
Selecting the Ideal Digital Door Lock Style and Color for Your Abode
-
Evolution Of Security- Smart Door Key Lock
-
Mailbox Digital Lock- Reinventing Mail Security In The Digital Age
-
Exploring Alternative Unlocking Solutions - Smart Lock Fingerprint Cards and Wristbands
-
Touch Id Door Locks- Next-Generation Security At Your Fingertips
-
Smonet Home Door Lock- The Future Of Home Security