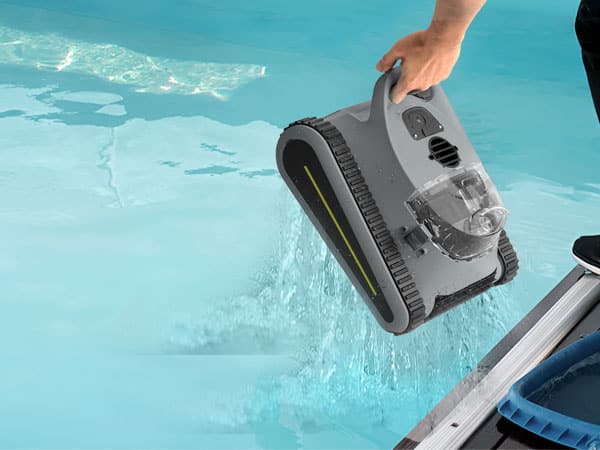
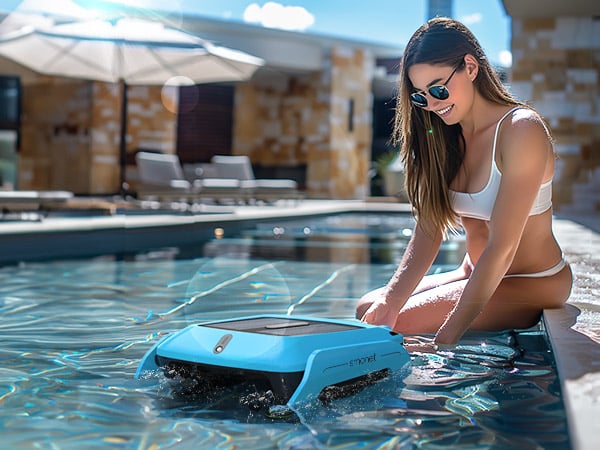
Decoding Pool Maintenance With Smonet: The Straightforward Guide To Replacing An Above Ground Pool Vacumn
Introduction:
Maintaining the purity of your above-ground pool demands the fundamental role of a well-functioning skimmer. Particularly, the SMONET pool skimmer is designed to efficiently filter out the debris from your pool, ensuring clean, clear water. However, like any equipment, it’s subject to wear and might necessitate a replacement over time. The process can seem quite daunting, but let’s make it simple with the following guide.
Before beginning, gather your replacement SMONET swimming pool vacuums, a screwdriver, waterproof silicone (optional), and a couple of towels for any water spillage you might encounter.
Step 1: Draw Down the Pool Water:
The very first step is to lower the water level in your above-ground pool. You want the water to be around 4 to 6 inches below the skimmer opening. This would allow you to work on the skimmer without a constant flow of water.
Step 2: Dismantle the Existing SMONET Skimmer:
Detach the screws from the existing SMONET skimmer faceplate located inside of the pool. Once you’ve removed all the screws, you can pull away the old skimmer from the pool wall.
Step 3: Prep Your Replacement SMONET Skimmer:
Take your new SMONET best pool vaccum out of the box and verify that all the necessary components are present. If it has come with a rubber or plastic gasket, arrange it to match the holes on the skimmer with those on the pool wall.
Step 4: Install Your New SMONET Skimmer:
Position the replacement in ground pool vacuum on the outer side of the pool and gently set it into the skimmer cutout hole. On the inside of the pool, align the gasket (if provided) and the faceplate, making sure all the holes are in line.
Step 5: Attach the Skimmer:
Start to screw in the skimmer, making sure that all screws are tight. However, do not over-tighten them as it could potentially break the skimmer. If needed, apply a thin bead of waterproof silicone around the screw holes for an additional seal.
Step 6: Connect the Skimmer:
Once your replacement skimmer is securely fixed to the wall, it’s time to reconnect the plumbing part, usually by attaching the skimmer hose to the skimmer’s bottom using a hose clamp.
Step 7: Investigate for Leaks:
Refill your pool to its normal level and carefully look for any signs of leaking. If you spot any, reapply some silicone or slightly tighten the screws.
Step 8: Switch Your Pool Pump Back On
Finally, with your new SMONET skimmer properly mounted, you can restart your pool pump and confirm water flows correctly into the skimmer. If everything functions as it should, then you’ve successfully replaced your pool skimmer!
The seeming intricacies of replacing your pool’s skimmer should no longer deter you from maintaining your pool’s cleanliness. With this straightforward guide, you can replace your SMONET above ground pool vacumn with ease, knowing that you’re guarding the clarity of your pool water, ensuring a healthier and happier swimming experience.
Prime Day OFF
Until the End
-
Master Of Cleanliness: Visual Guide To Recognizing And Understanding Your Electric Pool Cleaners
-
Making the Right Choice for A Best Keypad Door Lock: A Guide Based on Material Consideration
-
The 7 Most Common Types of Locks for Home and Office Security
-
Door Knob With Fingerprint Identification- The Future Of Home Security
-
Selecting the Ideal Digital Door Lock Style and Color for Your Abode
-
Evolution Of Security- Smart Door Key Lock
-
Mailbox Digital Lock- Reinventing Mail Security In The Digital Age
-
Exploring Alternative Unlocking Solutions - Smart Lock Fingerprint Cards and Wristbands
-
Touch Id Door Locks- Next-Generation Security At Your Fingertips
-
Smonet Home Door Lock- The Future Of Home Security

