how to install PoE cameras
Table of Contents
Power over Ethernet (PoE) cameras offer a reliable and efficient security solution for homeowners. Unlike traditional security cameras that require separate power and data cables, PoE cameras use a single Ethernet cable for both power and data transmission. This simplifies installation, reduces cable clutter, and ensures a stable connection. If you’re looking to set up a PoE security cameras system at home, follow this comprehensive guide to ensure a successful installation.
Equipment Needed
Before starting, gather the necessary equipment to ensure a smooth installation process:
- PoE Cameras– Choose cameras with essential features such as night vision, motion detection, and high-definition video quality.
- PoE Switch or PoE Injector– A PoE switch is recommended for connecting multiple cameras. A PoE injector is useful if you only need to power one or two cameras without a PoE switch.
- Ethernet Cables (Cat5e or Cat6)– High-quality Ethernet cables ensure stable power and data transmission.
- Network Video Recorder (NVR)– Optional but recommended for recording and managing camera feeds.
- Router– Required to connect the PoE switch and NVR for remote monitoring.
- Smartphone or Computer– Needed for configuring and monitoring the cameras.
- Mounting Hardware– Screws and wall anchors to securely install the cameras.

PoE Cameras Step-by-Step Guide
Step 1: Install the PoE Switch and Connect Components
Choose a Suitable Location:
Place the PoE switch near your router for easy network access. Ensure there is enough space to manage multiple Ethernet cables.
Connect to Router:
Use an Ethernet cable to connect the PoE switch to your router. This enables network access for remote monitoring.
Connect Cameras to the PoE Switch:
Plug one end of the Ethernet cable into each camera and the other end into the PoE switch. The cameras will receive both power and data through these connections.
Step 2: Set Up the NVR and Monitor
Connect the NVR to a Monitor:
Use a VGA or HDMI cable to connect the NVR to a monitor. This allows you to view the camera feeds.
Connect a USB Mouse:
Plug a USB mouse into the NVR to navigate its interface for setup and configuration.
Power On the System:
Connect the NVR and PoE switch to a power source. Once powered on, the cameras should display their video feeds on the monitor.
Step 3: Install the PoE Cameras
Mark Drill Points:
Use the provided hole location sticker to mark drilling points on the wall. Use a 5mm drill bit to create holes at the marked spots, ensuring each hole is deeper than 30mm. Insert expansion screws into the holes.
Mount the Camera:
Secure the PoE cameras to the wall using the provided screws. Ensure the camera is tightly fixed to prevent movement or misalignment.
Adjust the Camera Bracket:
Loosen the bracket screws to adjust the camera’s angle. Position the camera to capture the desired field of view, then tighten the screws to secure it in place.
Step 4: Configure Camera Settings
Download the Camera App:
Most PoE cameras come with a dedicated app for setup and monitoring. Download it from the Google Play Store or Apple App Store.
Create an Account:
Sign up for an account and log in to access camera settings.
Add PoE Cameras to the Network:
Follow the app’s instructions to scan a QR code or manually enter the camera’s unique ID. This links the camera to your network.
Configure Camera Settings:
- Enable Motion Detection– Adjust sensitivity to minimize false alarms.
- Set Recording Options– Choose continuous recording, motion-triggered recording, or scheduled recording.
- Adjust Notification Preferences– Enable push notifications for security alerts.
Step 5: Monitor and Maintain Your System
Regular Monitoring:
Use the app or NVR to view live feeds and recorded footage.
Firmware Updates:
Keep your PoE security cameras updated with the latest firmware to ensure security and performance improvements.
Check Camera Integrity:
Periodically inspect cameras for dust, obstructions, or tampering. Ensure they remain securely mounted.
Additional Tips
Secure Your Network
- Use a strong password for your Wi-Fi and network devices.
- Enable encryption (WPA2 or WPA3) for enhanced security.
- Limit remote access to trusted devices only.
Consider Cloud Storage
Many PoE security cameras brands offer cloud storage options for secure off-site backup of recorded footage.
Backup Power Supply
Consider using an Uninterruptible Power Supply (UPS) to keep your PoE switch running during power outages.
Conclusion
Installing a PoE cameras system at home is a smart investment for enhanced security and convenience. By carefully planning camera placement, managing cable runs, and configuring network settings, you can create a robust surveillance system. Regular monitoring and maintenance will ensure your PoE security cameras continue to provide reliable security, giving you peace of mind knowing your property is well-protected.
Prime Day OFF
Until the End


-
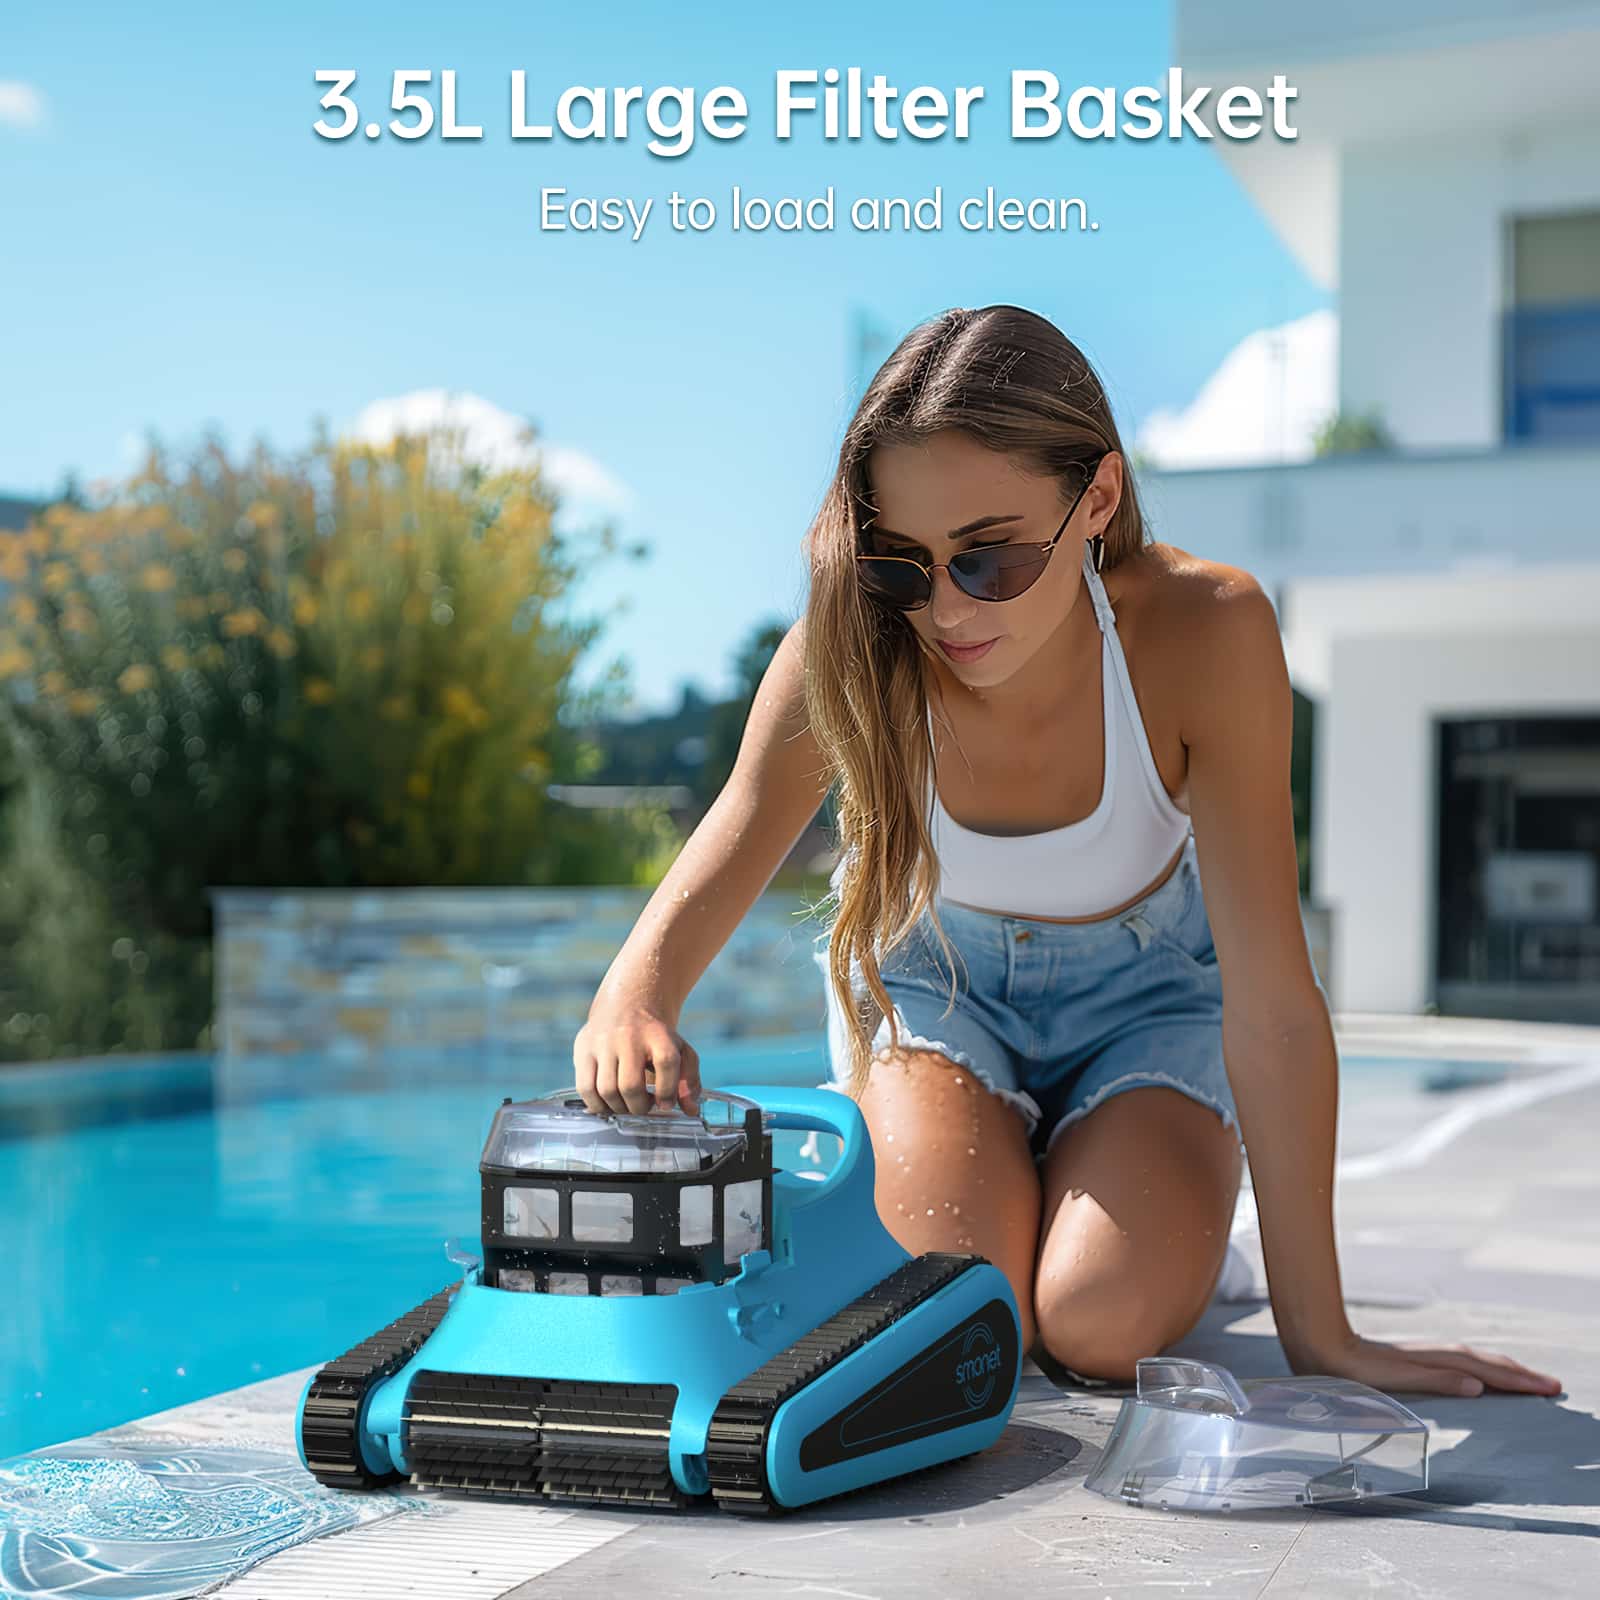
Master Of Cleanliness: Visual Guide To Recognizing And Understanding Your Electric Pool Cleaners
-
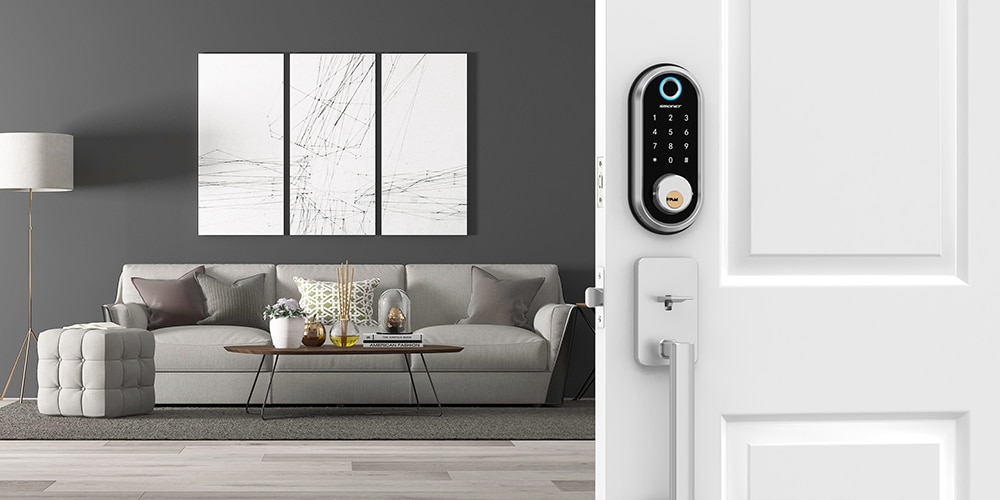
Making the Right Choice for A Best Keypad Door Lock: A Guide Based on Material Consideration
-
The 7 Most Common Types of Locks for Home and Office Security
-
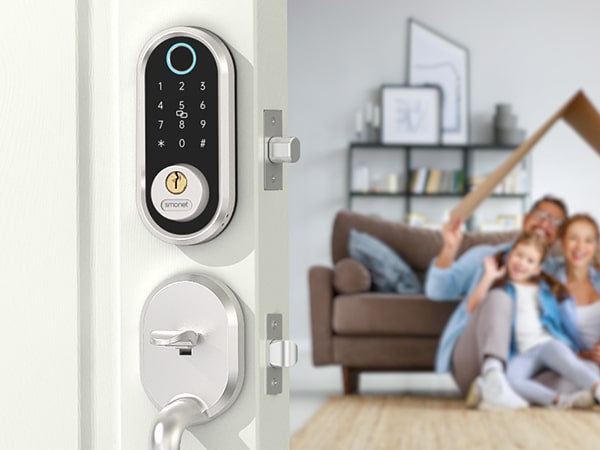
Door Knob With Fingerprint Identification- The Future Of Home Security
-
Selecting the Ideal Digital Door Lock Style and Color for Your Abode
-
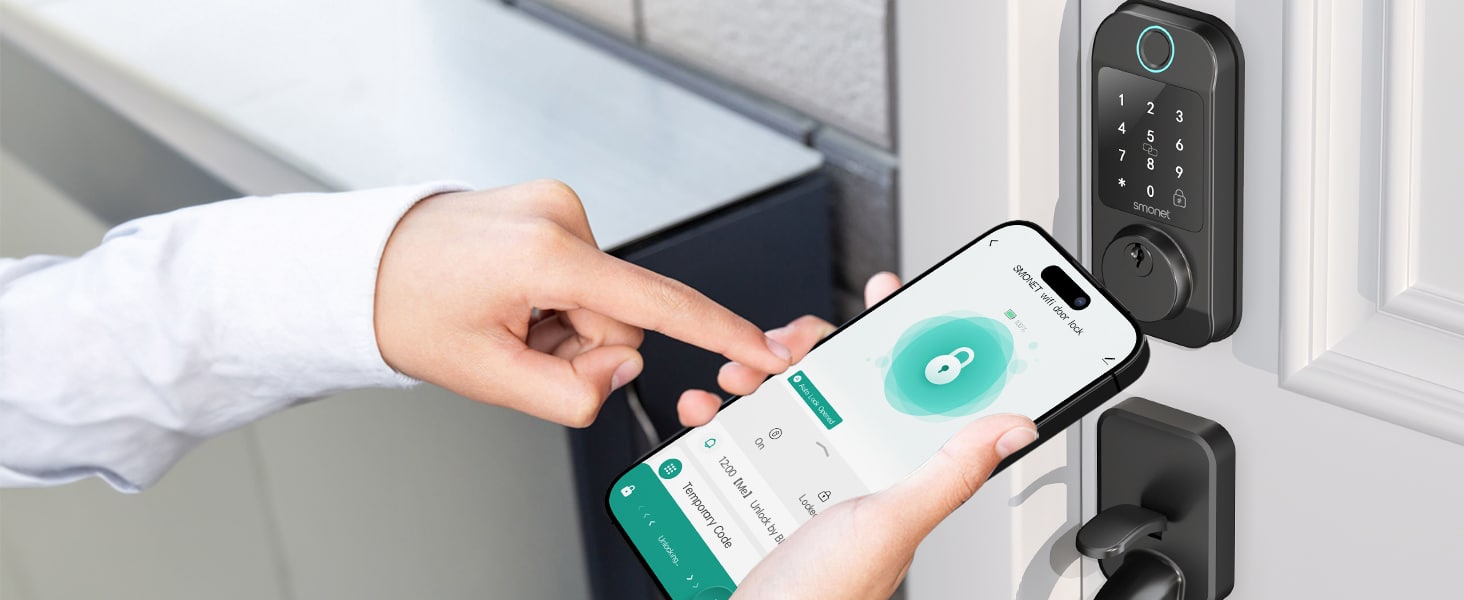
Evolution Of Security- Smart Door Key Lock
-
Mailbox Digital Lock- Reinventing Mail Security In The Digital Age
-
Exploring Alternative Unlocking Solutions - Smart Lock Fingerprint Cards and Wristbands
-
Touch Id Door Locks- Next-Generation Security At Your Fingertips
-
Smonet Home Door Lock- The Future Of Home Security