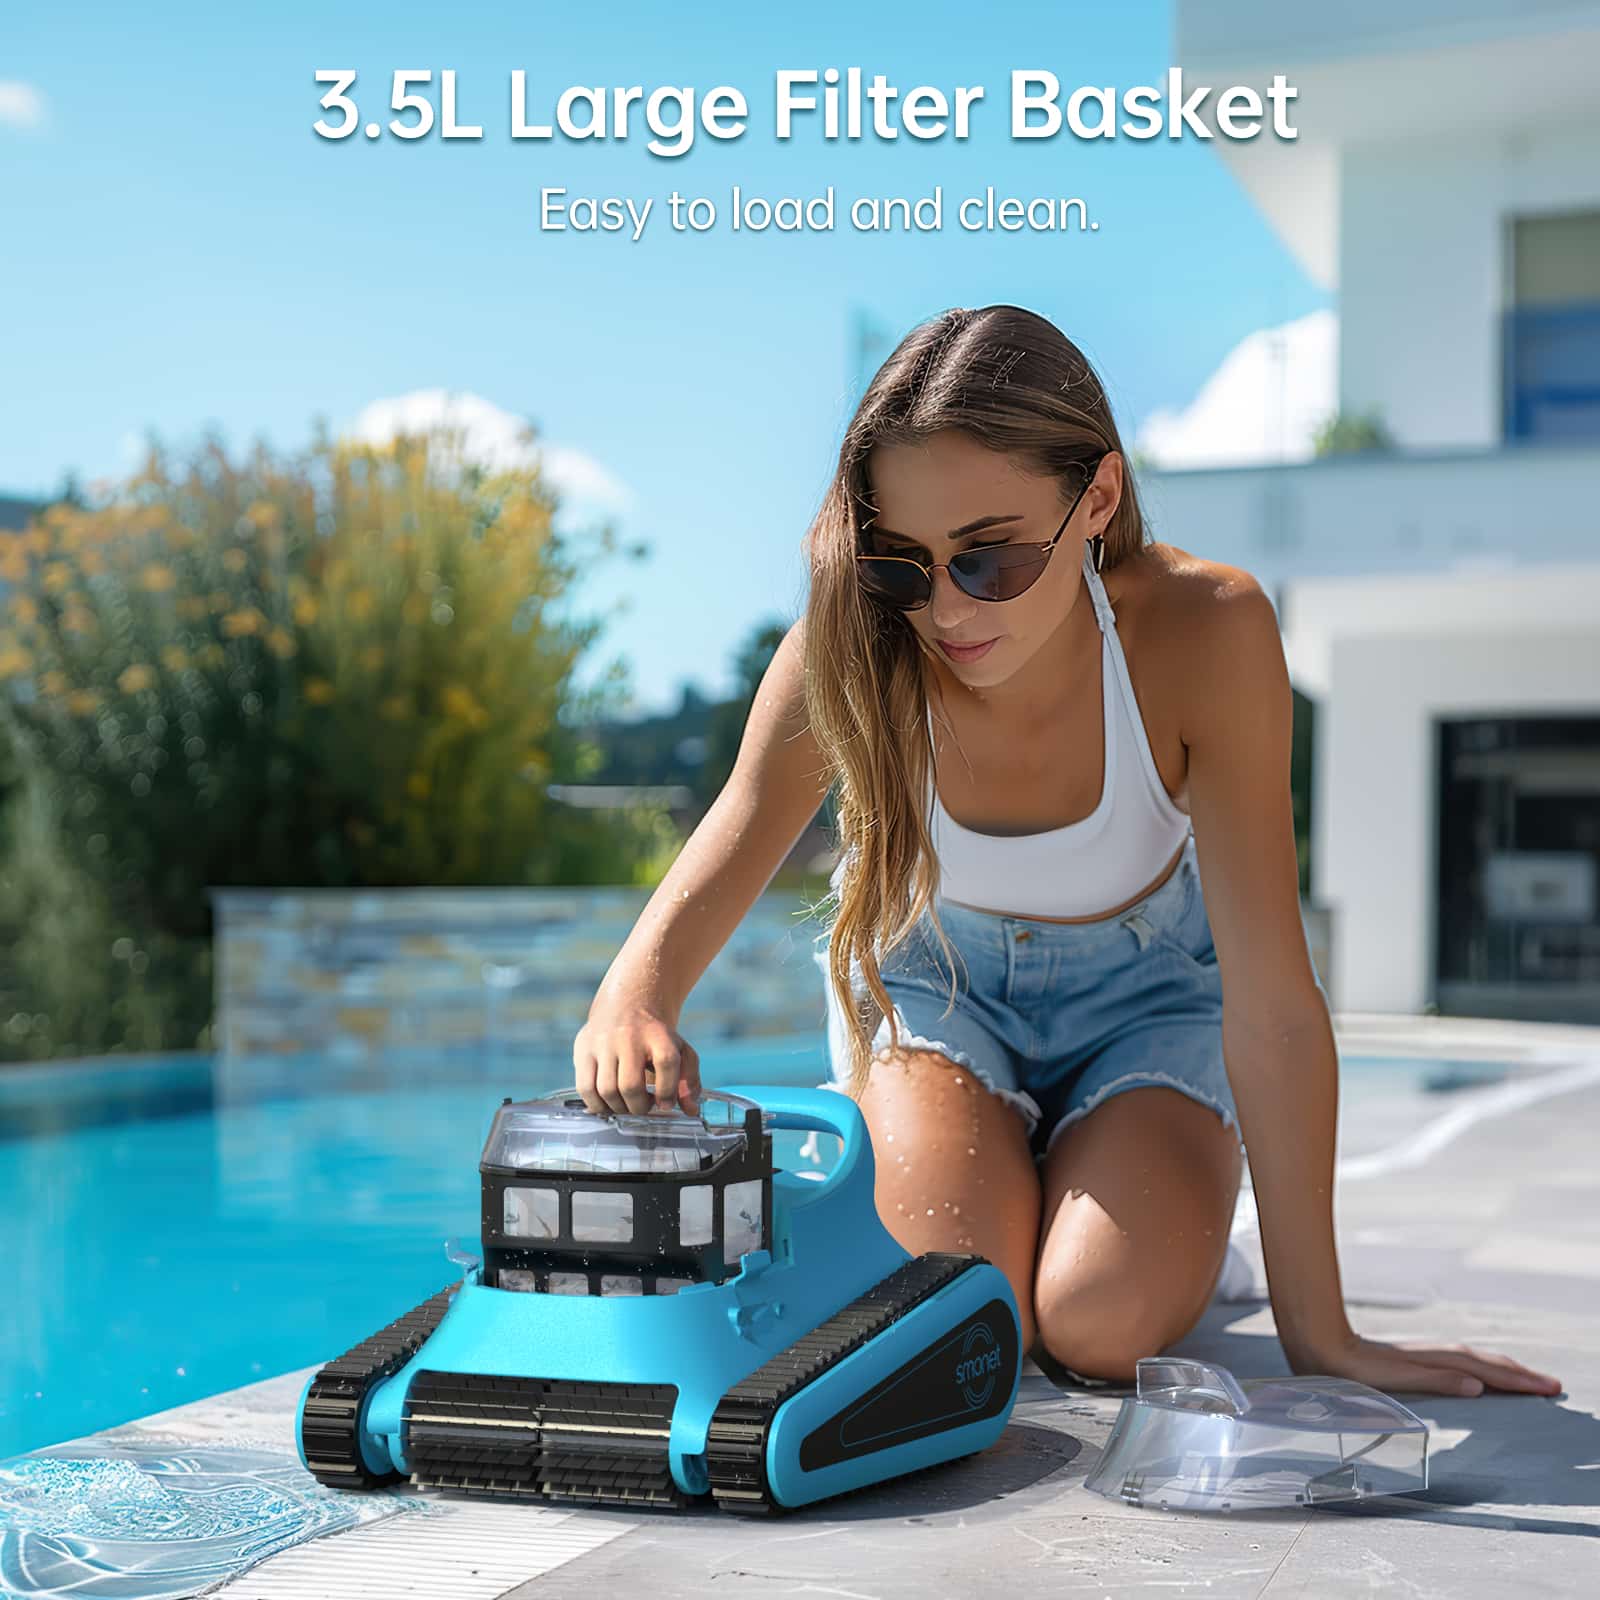
This article will guide you on installing a SMONET skimmer in your inground pool.
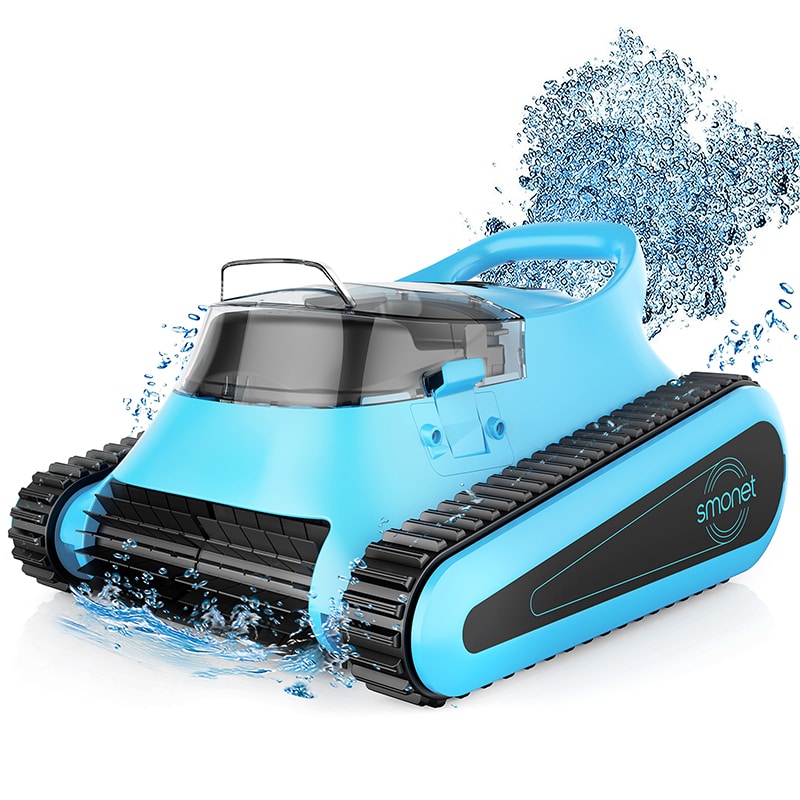
If you treasure sparkling, clean pool water, the automatic pool cleaner vacuum is your ally. A popular choice in modern pool maintenance, the SMONET skimmer promises efficiency and durability. This article will guide you on installing a SMONET skimmer in your inground pool.
The skimmer is a crucial part of maintaining your inground pool’s pristine condition. It works by moving the water’s surface to capture debris before it sinks. So, the installation of the SMONET skimmer is an essential part of your pool maintenance plan.
Preparation:
Before starting, make sure you have the following items at hand:
-The SMONET skimmer unit
-Sealing material (usually provided with the skimmer)
-Screwdriver
-Screws (included with the skimmer)
Begin by deciding where you want to install your skimmer. The best place is usually opposite the pool’s return jet to maximize efficiency by maintaining water circulation.
After selecting the skimmer’s position, you have to cut an opening in the pool wall. Following the manufacturer’s instructions, mark the height and width right on the pool’s edge. Using a pool-grade saw or grinder, cut this space out.
Position the SMONET pool vacuum cleaners at the cutout and anchor it using the provided screws and a screwdriver. Guarantee a secure attachment.
The SMONET skimmer will likely come with a generic gasket to place between the skimmer and the pool wall. This gasket prevents water leakage around the cut. As per the directions, open the sealing material and apply the gasket correctly.
Step 5: Finalizing the Skimmer Installation:
With the skimmer secured and the gasket in place, replace the skimmer lid and the inner panel with its designated screws to make sure the structure is secure and firm.
Step 6: Connect to the Pump:
Use PVC pipes to connect the skimmer to the pool’s pump system. Ensure all connections are sealed properly to avoid leakage.
Step 7: Check for Leaks:
Now that your SMONET in ground pool cleaner is installed, you should fill the pool to normal water level and monitor for any possible leaks around the skimmer box. If a leak appears, extra sealing may be required.
Step 8: Test Your Skimmer's Functionality:
Once the leaks check is completed, it’s time to test your SMONET skimmer. Run your pool’s pump and observe the water flow into the skimmer. If it is functioning correctly, the skimmer will begin to collect floating debris.
Installing a SMONET pool sweep in your inground pool is indeed a worthwhile investment for maintaining a clean pool. The process is relatively straightforward, and with this guide, you have the step-by-step instructions needed to perform the job competently and confidently.
Through your effort, the resulting crystal-clear water will not only entice you to take a dip more often but will ensure the longevity of your pool and overall satisfaction with your SMONET product.
Prime Day OFF
Until the End
-
Master Of Cleanliness: Visual Guide To Recognizing And Understanding Your Electric Pool Cleaners
-
Making the Right Choice for A Best Keypad Door Lock: A Guide Based on Material Consideration
-
The 7 Most Common Types of Locks for Home and Office Security
-
Door Knob With Fingerprint Identification- The Future Of Home Security
-
Selecting the Ideal Digital Door Lock Style and Color for Your Abode
-
Evolution Of Security- Smart Door Key Lock
-
Mailbox Digital Lock- Reinventing Mail Security In The Digital Age
-
Exploring Alternative Unlocking Solutions - Smart Lock Fingerprint Cards and Wristbands
-
Touch Id Door Locks- Next-Generation Security At Your Fingertips
-
Smonet Home Door Lock- The Future Of Home Security

