Steps To Install And Set Up A Wireless Entry Door Locks

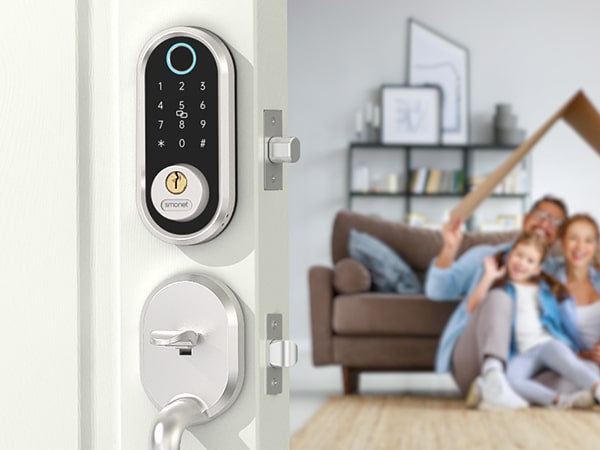
The concept of a wireless door lock has revolutionized home security. Adding this high-tech tool to your home is a great way to enhance safety. Here’s a step-by-step guide on how to install and set up your wireless key card entry systems:
Step 1: Choose the right lock
Ensure the lock you chose is compatible with the door where you want to install it. The lock package should indicate what doors it’s suitable for.
Step 2: Remove the existing lock
Before you begin, make sure you have the necessary tools handy. Once you’re ready, use a screwdriver to remove your old door lock.
Step 3: Install the new deadbolt
Once the old lock is out of the way, position your new deadbolt into the door hole. Ensure that the top of the deadbolt is facing up then screw it into place.
Step 4: Install the new exterior piece
Slide the exterior piece of the lock through the deadbolt and the hole in your door. Make sure the keypad is on the outside of the door.
Step 5: Secure the Interior Assembly
Place the interior assembly onto the interior portion of the door, making sure it lines up with the mounting plate of the exterior piece. Secure it with screws.
Step 6: Install the Batteries and Cover
Insert the required batteries into the interior assembly of the lock. Once done, attach the lock cover according to the manufacturer’s instructions.
Step 7: Set Up and Test the Lock
Follow the lock’s manual to configure a new code for your lock. Test the lock and make sure it functions correctly both manually and wirelessly.
Step 8: Connect to Your Home Network
According to the lock’s manual, link the lock to your home’s best wireless door lock. This connection allows you to lock/unlock the door remotely.
Step 9: Download the Lock’s App
Install the dedicated app for your particular lock, register and log in. The app gives you the ability to monitor and control your lock from your mobile device.
In conclusion, installing wireless entry locks might seem like a daunting task at first, but it’s quite straightforward with the right tools and instructions at hand. Once it’s set up, it adds convenience and safety to your home, keeping it secure at all times.
Prime Day OFF
Until the End


-
Master Of Cleanliness: Visual Guide To Recognizing And Understanding Your Electric Pool Cleaners
-
Making the Right Choice for A Best Keypad Door Lock: A Guide Based on Material Consideration
-
The 7 Most Common Types of Locks for Home and Office Security
-
Door Knob With Fingerprint Identification- The Future Of Home Security
-
Selecting the Ideal Digital Door Lock Style and Color for Your Abode
-
Evolution Of Security- Smart Door Key Lock
-
Mailbox Digital Lock- Reinventing Mail Security In The Digital Age
-
Exploring Alternative Unlocking Solutions - Smart Lock Fingerprint Cards and Wristbands
-
Touch Id Door Locks- Next-Generation Security At Your Fingertips
-
Smonet Home Door Lock- The Future Of Home Security